
No, simply having a clean kitchen isn’t enough. Over time, food particles, grease, and hidden buildup accumulate in places you can’t always see—impacting both the hygiene of your space and the performance of your appliances. That’s why surface-level cleaning falls short. Below is a professional deep cleaning guide that walks you through not just what to clean, but why it matters.


Before you get started, make sure you are ready for safety and efficiency:
Need a professional touch? Book your deep oven and kitchen cleaning service with LuminaLife today.
Ironically, your dishwasher can be the dirtiest item in your kitchen. Food gets stuck to the inside, along with mineral buildup and other grime.
Washing machines are in your kitchen or laundry room, and they are the most-used item in your home. Therefore, they need to be kept clean.
Counters are where you prepare your food, so they need to be sanitary and you need to know what material they are made of.
When you do a deep clean, turn everything upside-down to see what expired products you have in the back.
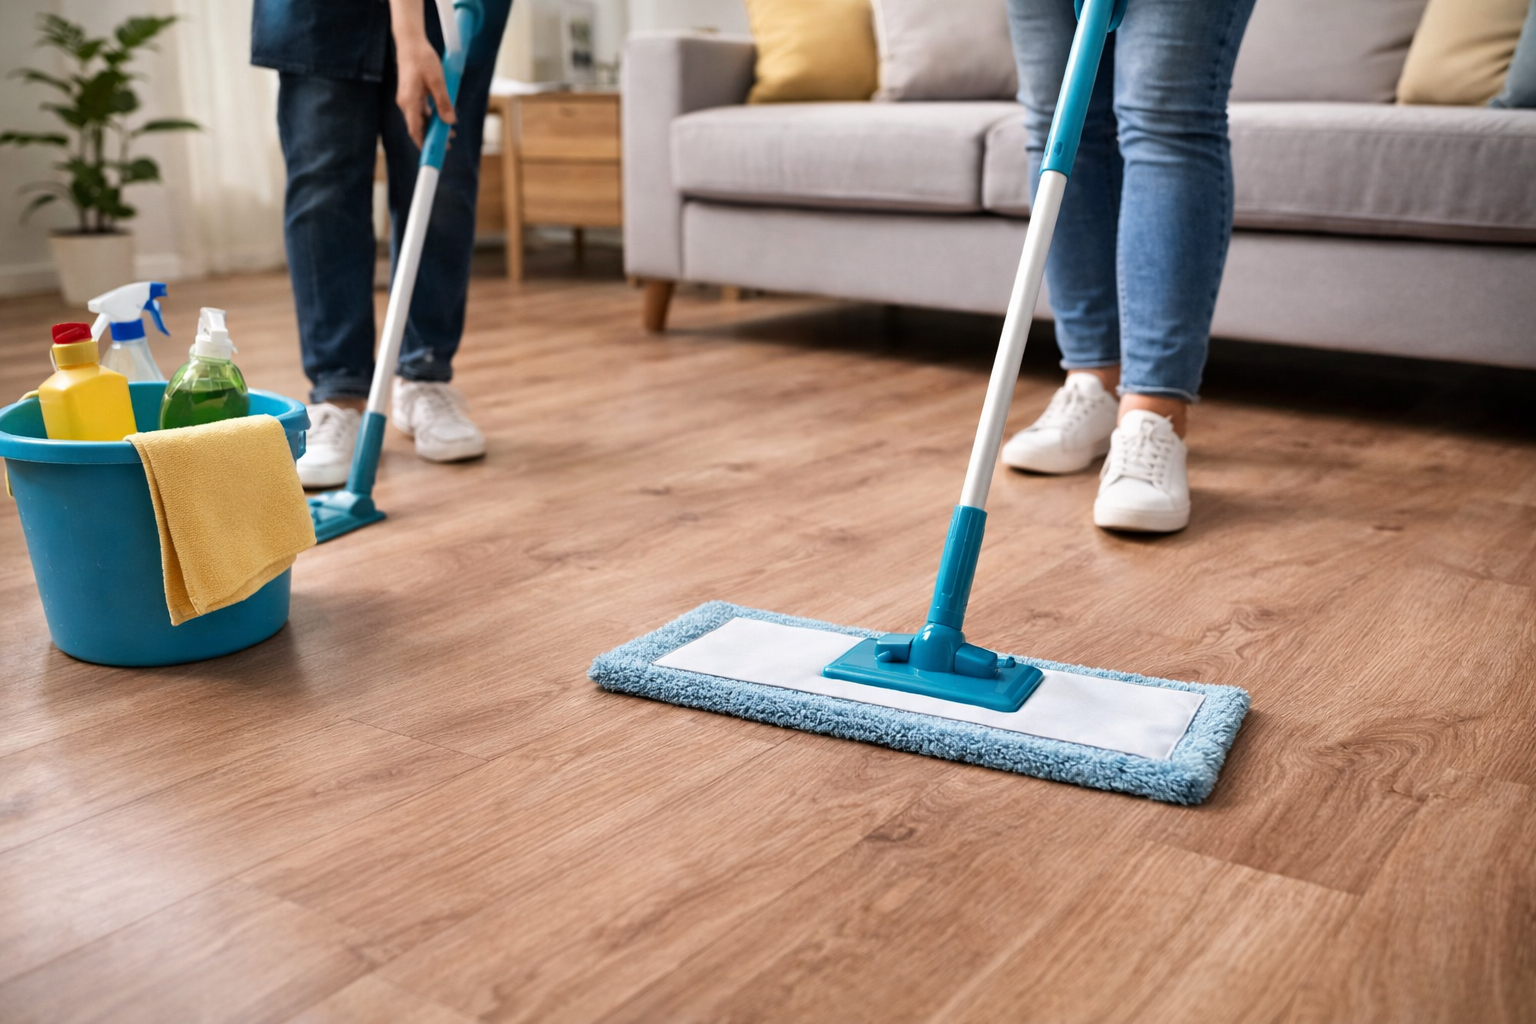
Your floors are going to collect every speck and spill that happens above them. Clean them last to prevent recontamination.
Professional Tip: Bacteria and germs spread through dirty mops. Always rinse and refill your mop bucket regularly.
For tile grout lines, use a small brush and paste of baking soda and water to scrub up the buildup.
Here are some extra areas you can clean if you want to take your clean to the next level:
Create a quarterly checklist for these extras to make deep cleaning routine and not something you dread.
Professional cleaning is not just about saving time.
Lumina Life brings:
Let us take the pressure off of you. Schedule a professional clean now:
👉Get a Free Quote and a spotless kitchen without the stress.
Laminate flooring is durable, stylish, and cost-effective—but only if it’s maintained correctly. Unlike hardwood, laminate has a protective top layer that can be easily damaged by excess moisture, harsh chemicals, or improper tools. This guide breaks down exactly how to clean laminate floors safely and efficiently.
Read more
Upholstered furniture collects dust, body oils, spills, and odors much faster than most homeowners realize. Over time, even a well-maintained sofa can begin to look dull, feel sticky, or develop stains that regular vacuuming cannot remove. Professional upholstery cleaning is highly effective, but many homeowners first look for safe and affordable ways to clean their sofa using simple ingredients they already have at home. In this guide, we explain how homemade upholstery cleaner solutions work, when they are effective, and when they may not be enough to fully restore your furniture.
Read more
Finding a reliable cleaning company in Calgary is not always straightforward. With dozens of providers offering similar services, it can be difficult to understand which companies deliver consistent quality, trained staff, and professional results — and which rely on rotating crews, contractors, or franchise systems. Calgary homeowners today are looking for more than just basic cleaning. They want trusted professionals, transparent pricing, fully trained teams, and companies that are accountable for their work. Service quality, reliability, and long-term consistency have become the most important factors when choosing a cleaning company. In this guide, we reviewed the top cleaning companies in Calgary based on real customer experiences, business structure, training standards, and overall reliability. This list will help you understand which cleaning companies offer the most dependable service — and why locally owned, fully trained teams are becoming the preferred choice for Calgary homeowners
Read more
